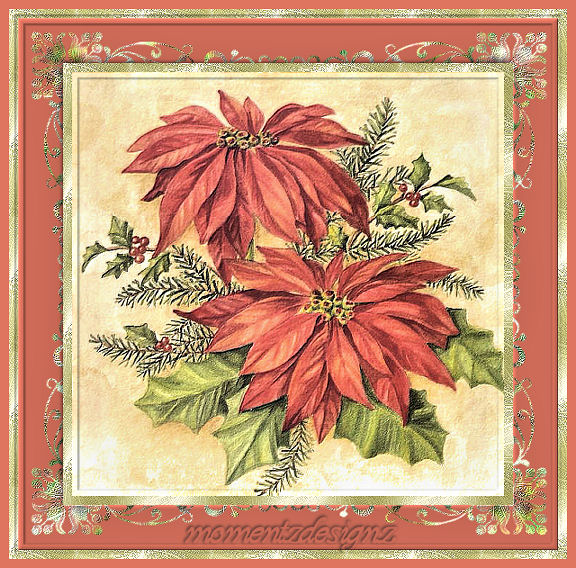
 This tutorial could be done in any version. Supplies Needed: Image of choice Mask - preferably a square one Gold or Silver pattern Filter: Eye Candy 5 - Textures Filter: FM Tile Tools - Blend Emboss 1 - Open your image, duplicate and close the original. 2 - Set Foreground to a color from your image and Background to your chosen pattern. 3 - Image > Add Border - 10 px and flood fill with your pattern - Keep Selected 4 - Effects > 3D Effects > Outer Bevel - see screenshot below  5 - Selections > Select none 6 - Image > Add Border - 50 px and Flood fill with your chosen color - Keep Selected 7 - Effects > 3D Effects > Inner Bevel - see screen shot below  8 - Layers > New Raster Layer 9 - Flood fill this layer with your pattern - Keep Selected 10 - Selections > Invert 11 - Effects > 3D Effects > Drop Shadow - see screen shot below:  12 - Repeat the Drop Shadow - changing the V & H to -4 13 - Selections > Invert and Keep Selected 14 - Layers > Load Mask from Disk ... this can be your choice and I used "deecornerart1" 15 - Layers > Merge > Merge Group - Keep Selected 16 - Effects > Plugins > Eye Candy 5 Textures > Texture Noise > Diamond Noise NOTE: You can set this to whatever brings out the colors of your image the best. 17 - Keep selected and use the same plugin> only select > Subtle Shadows 18 - Effects > Plugins > FM Tile Tools > Blend Emboss 19 - Adjust > Sharpness > Unsharp Mask Settings: Radius 25.75, Strength 17, Clipping 25 and 'check' Luminance only 20 - Selections > Select None 21 - Image > Add Borders > 10 px and flood fill with your pattern and Keep Selected 22 - Repeat the Outer Bevel as we did in Step #5 23 - Selections > Select None 24 - Image > Add Borders > 10 px and flood fill with your color and Keep Selected 25 - Repeat the Outer Bevel as we did in Step #5 26 - Selections > Select None 27 - Decorative corners may be added if you wish. 22 - Add watermark, re-size and save as a jpg. If you have any questions, please feel free to email me. ©momentzdesignz 1999 Back to Tutorials |