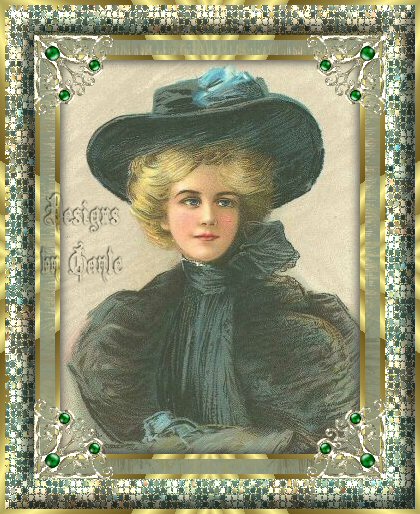
 This tutorial was written in V8 My tutorials are simple and could be done easily for any level, just by following the steps. This tutorial was written by me and is ©momentzdesignz Any other tutorial that looks similar is purely coincidental and no infringement of any other artist is intended. For this tutorial you will need the following: PSP 8 Ulead - Art Texture - download here An image of choice, or use mine below. 
1 - Open your image in psp
2 – Duplicate this image twice and minimize one for later use 3 – Close the original as we no longer need it 4 – Image > Add border > 5 px 5 – Using your magic wand, highlight the border 6 – Effects > Plugins > Ulead > Art Texture 7 – Edit using palette #5 8 – I chose pattern #1 but you may choose whichever 1 you wish 9 – Selections > Invert 10 – Effects > 3D Effects > Cutout H & V 2, Opacity 75, Blur 15 **Keep selected and do the Cutout again only changing the H & V to –2 11 – Selections > Select none 12 – Image > Add border – 15 px 13 – Highlight with magic wand 14 – For your Foreground, select a Medium colour from your image 15 – Flood fill the border 16 – Effects > Texture Effects > Fur Blur 25, Density 75, length 20, Transparency 131 17 – Selections > Select none 18 – Image > Add border – 5 px 19 - Use Ulead Art Texture to fill, same settings as before 20 – Selections > Select none 21 – Image > Add border – 30 px 22 – Highlight with the magic wand 23 – Set your Background in your Material palette to Pattern and choose the image you minimized earlier. Use these settings: Angle – 309 and Scale – 10 24 – Flood fill the border and keep selected 25 - Effects > Texture Effects > Mosaic Antique Settings: In drop down menu at top – make sure it is on Chicken Wire. Number of rows and colums 67, tile diffusion 60, grout width 2, grout diffusion 35 26: Keep Selected 27 – Effects > Artistic Effects > Halftone - [see screen shot below] 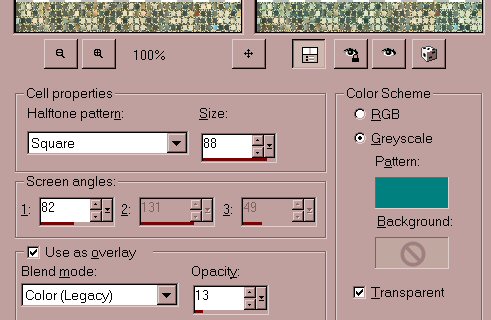 28 – Effects > 3d Effects > Inner Bevel Settings: Bevel – preset #2, width 9, smoothness 73, depth 9, ambiance, 0, shininess 0, colour white, angle 315, intensity 45, elevation 35 29 – Selections > Select none 30 – Repeat steps 18, 19 and 20 to finish the frame edge. 31 - Decorative corners may also be used. 32 - Save as a .jpg If you have any questions, please feel free to email me. ©momentzdesignz 1999 Here is her result.  Back to Tutorials |