 Welcome to my tutorial for a template which are popular because they can be made and saved as a tube for later use, for sig tags,web page headers, etc. I have rated this for the intermediate PSP user because I have used no screen shots. But I also found out that trying is the best way to learn. *S* This tutorial was written by me and is ©momentzdesignz Any other tutorial that looks similar is purely coincidental and no infringement of any other artist is intended. For this tutorial you will need the following: PSP 8 - could also be done in psp 7 My text tube - here Mask 177 - here [See below on how to save the mask.] A tube or tubes of your choice
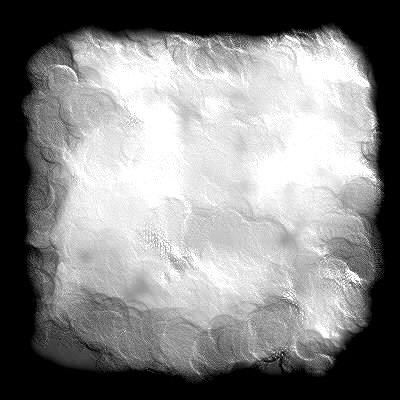
Mask - This mask is in .jpg format so you will save it to a folder on your harddrive.
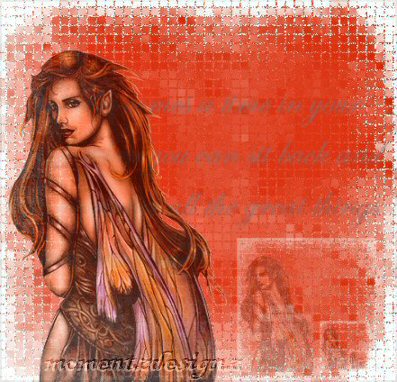
1 - right click on the image 2 - save image as Mask_177.jpg to a file 3 - open this image in psp8 1 - Open new transparent image 400 x 400 2 - Open a tube of your choice 3 - Background colour - choose a medium colour from your tube 4 - Flood fill your image 5 - Layers > New Mask Layer > From Image 6 - In the drop down box - look for your Mask_177.jpg - click Source Luminance and then OK 7 - Still on the mask layer, right click and choose Delete * Answer yes to merge into the layer. 8 - Layers > Merge > Merge group 9 - Effects > Texture Effects > Mosaic Antique Settings: #of rows and columns 50, Tile diffusion 70, Grout width 2, Grout diffusion 50 10 - Layers > Merge all flatten 11 - Right click on this layer and Promote to Raster Layer 12 - New raster layer 13 - Apply the text tube at scale 80 14 - Depending on the colour you are using, you will have to adjust the colour. 15 - Adjust > Hue and Saturation > Colorize 16 - Use the mover tool to put the text where you want it 17 - Lower the opacity on this layer to about 40 - depending on your colour used. NOTE: We don't really want it to stand out as it is just for decoration. *S* 18 - New raster layer and apply your tube. 19 - use the mover tool and place it next to the left side - see my image above 20 - Layers > Merge all flatten 21 - Selection Tool > Rectangle 22 - Crop around the image to remove most of the white. 23 - Image > Crop to Selection 24 - Selections > Select All 25 - Selections > Modify > Contract > 2 26 - Selections > Invert 27 - Effects > 3D Effects > Inner Bevel Settings: width 31, smoothness 44, depth 2, ambiance -8, shininess 17, Color - white, angle 315, intensity 69, elevation 21 28 - Selections > Select None 29 - Effects > Reflection Effects > Feedback Settings: opacity 33, intensity 32, H offset 84 and V offset 92 30 - Re-size if you wish and save as a .jpg or a tube. If you have any questions, please feel free to email me. ©momentzdesignz 1999 Below is her lovely result. 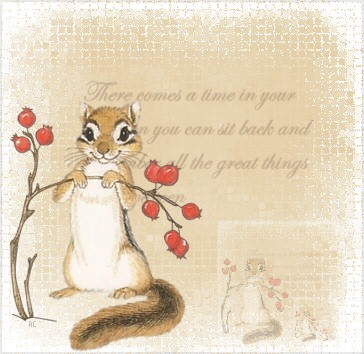 Back to Tutorials |