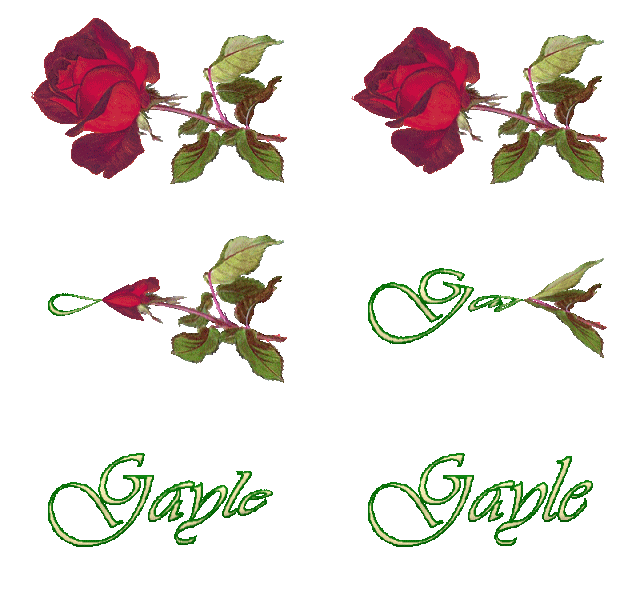
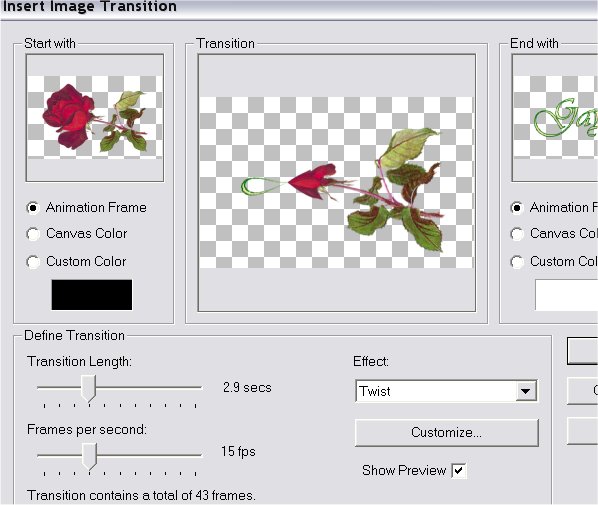
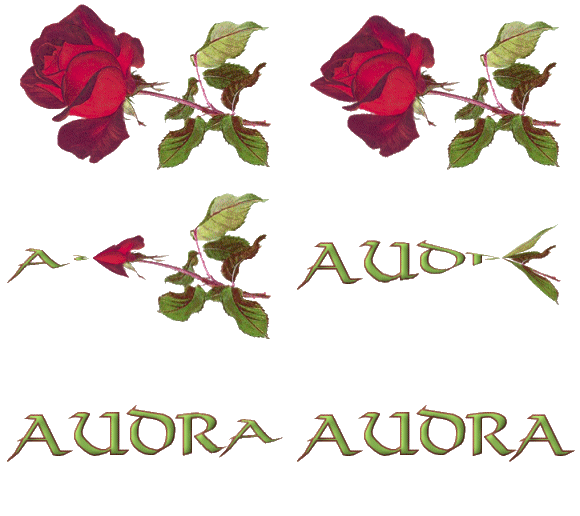
 This tutorial was written in V8 but can be done in other versions. This tutorial can be done by anyone, as it really is a simple practice in animation. I have found out that trying is the best way to learn. *S* This tutorial was written by me and is ©momentzdesignz Any other tutorial that looks similar is purely coincidental and no infringement of any other artist is intended. For this tutorial you will need the following: PSP 7 or 8 Rose tube here
Step 1:
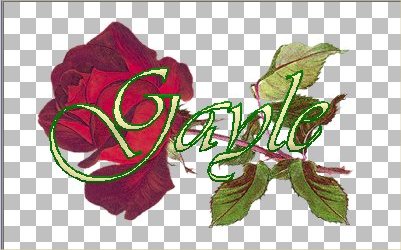
1 - Open new transparent image 400 x 250 px 2 - On the rose tube, copy and paste as a new layer on your blank image 3 - Chose 1 or 2 colours from your tube for your text 4 - Add a new layer - this will be your text layer 5 - You will want a large font as you want to see it on your image ** I used a large size font 72, as the rose image is quite full and the purpose of this animation is to see your name and the rose. 6 - Since this is on a separate layer, you can also add an inner bevel 7 - Selections > Select None 8 - DO NOT merge any layers 9 - Set your image aside for a few minutes  Step 2: Preparing for the Animation: 1 - In making an animation, your images or frames, as they are called in Animation Shop, have to be the same size. 2 - Open 2 transparent images sizes 400 x 250 3 - We will put the rose only on the 1st one, so copy and paste this to one as a new layer 4 - Copy and paste your name on the 2nd transparent image as a new layer 5 - On each image: go to: Layers > Merge Visible 6 - we are going to use these 2 images for our animation. 7 - Name them: image 1.psp and image 2.psp [or whatever yuo wish] and save them to a file so you can find them in animation shop 8 - If you wish, you can close all images as we don't need them any more. NOTE: Sometimes I keep them open in case I have to make an adjustmet and saves starting over *S*. Step 3: The Animation 1 - Still in psp - go to: File > Jasc Software Products > Launch Animation Shop 2 - Go to: File > Animation Wizard ** The following will guide you through the next steps: 3 - Window 1 - check same size as the 1st frame 4 - Next: check 'transparent' 5 - Next: check - centered in the frame, with the canvas colour and scale frames to fit 6 - Next: check - yes, repeat indefinitely and put the number 15 in the box underneath 7 - Next: This is where you add your images. Remember we have only the 2. Go to: ADD and look for where you have them saved and click OPEN. Of course, you will be adding only 2 :) You will see them in your list. 8 - Click the FINISH button NOTE: Now you will see your 2 frames on your work space. 9 - Go to: Tool Bar > Effects > Insert Image Transition I have made a screen shot for you as it is easier to see than try and type it *S*  10 - Click OK 11 - Looking at what we now have, you will see we have a total of 45 frames. This will have to be made a bit smaller so it loads ok. If you already made yours smaller in the beginning, then you can skip this part. Some tubes are small and have a different effect in the size of your overall animation. 12 - Go to: Animation > Resize Animation > Resize > I resized mine by 80%. [This takes care of the whole animation. Step 4: Finishing 13 - On the Tool Bar > View Animation 14 - If you are happy with what you have, we will save it as a .gif 15 - File > Save As 16 - give it a name and the .gif extension is already there 17 - Click > Save and since the program gives us the best optimization - just click: Next > Next > Finish. Easy right? *S* I hope you have enjoyed doing it! If you have any questions, please feel free to email me. ©momentzdesignz 1999 Below is her result.  Back to Tutorials |